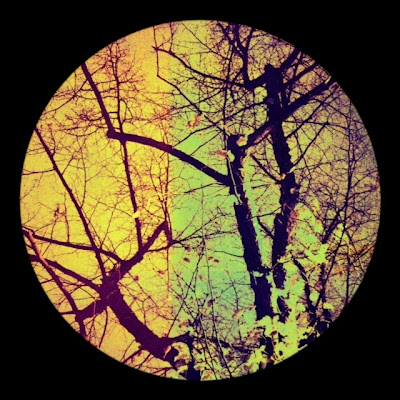
My friend Jennifer Bracewell has just asked how to make circle-shaped images so I thought I'd put together a quick tutorial. Amazingly for me, we're going to use just two apps ( I know, please don't faint!)
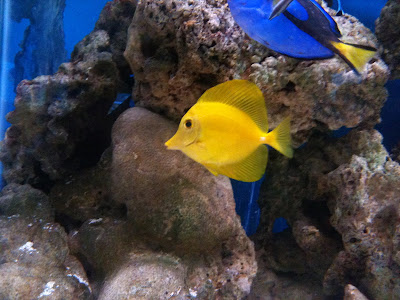
First, you'll need a square-cropped photograph. I've recently become addicted to Instagram and this has led me to take a lot of square-format photographs with apps such as Hipstamatic, Format 126 and Lomora 2. For this tutorial, I'm going to be working with such a photograph, that has already been through the processing mill, so you'll need to imagine its rectangulariness!

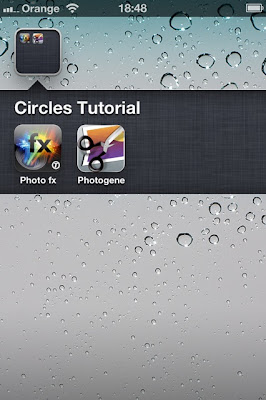
So, first we're going to import this ahem, imaginary rectangular photograph into a cropping app. There are lots that do this but my weapon of choice is still Photogene
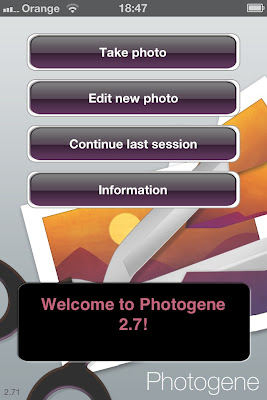
After importing our photograph, it will open in this screen...

Choose the scissor (crop) icon and select 1:1
Grab one if the little corner dots and pull out to enlarge the cropping area. Move the highlighted square around to determine the precise area of the crop.

When you're happy with the crop, select the tick button at the bottom left hand corner of the screen

In the DONE window, save your cropped photograph.
Next, Import the square format photo into Tiffen's PhotoFX

Select LENS FX from the menu at the bottom of the screen

Select VIGNETTE...

Here, I've selected BLACK CIRCLE from the Vignette menu...

Photo FX automatically presents a preview of the photo vignetted with a 50 percent blurred edge: pretty, but not quite the desired effect. Moving the SOFTNESS slider to the far left gives the the hard-edged look we're after...

Of course, because I like to play, I can't resist trying another option, so let's hit the UNDO button(bottom far left) to return to the VIGNETTE menu. Select WHITE CIRCLE...

I'm thinking frosty-edged Christmas cards here!
Here's how it looks with a harder edge:

There you go Jen, Have fun!
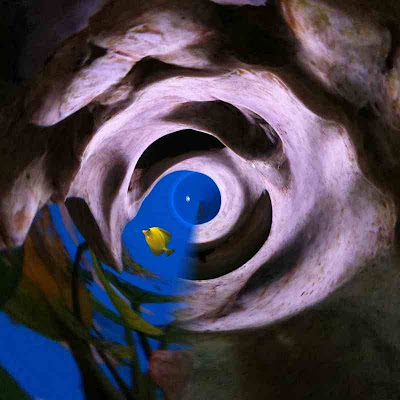
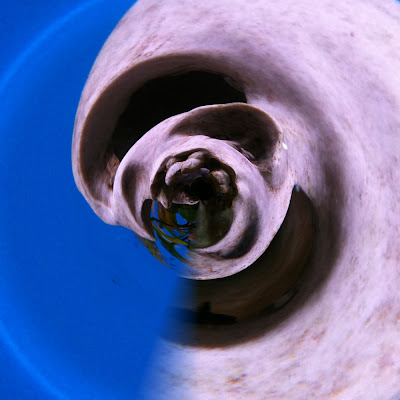
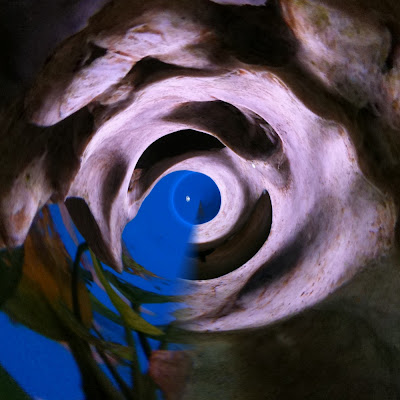
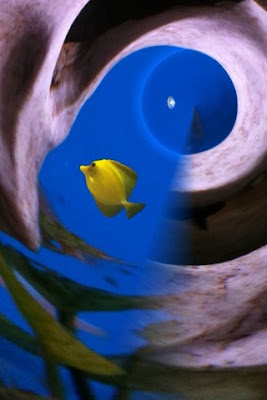
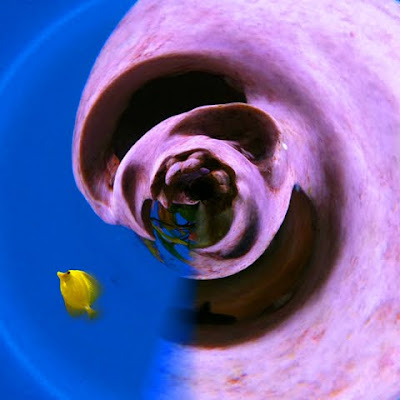
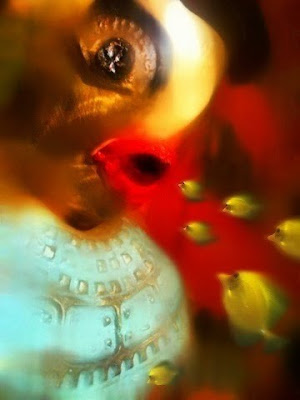
And here are two more versions of this image, recently posted to my Flickr stream...


- Posted using BlogPress from my iPad


